Confluence at the Community College of Denver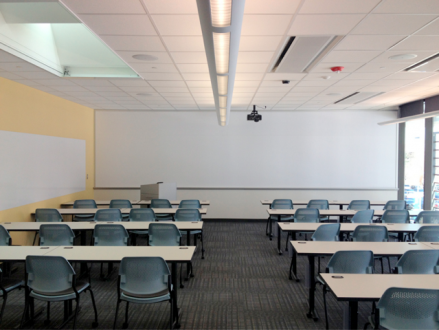
The v4.1 version of this credit has been overhauled from v4 to reflect what designers and experts on interior lighting are likely to prioritize.
The credit aims to bring visual comfort in LEED-certified buildings up to the same standards applied to other aspects of the interior environment, such as thermal comfort and indoor air quality. That’s because occupants in spaces with high-quality lighting tend to be more satisfied with the overall indoor environment, more alert and productive during the day, and healthier over time.
Project teams can pick and choose from a short list of four interior lighting strategies, with one point available for implementing one strategy, and two points available for implementing three strategies.
Note that this credit covers only electrical lighting; a separate but complementary credit, EQc7, deals with natural daylighting.
Not In the LEED Reference Guide
Check the credit language and the LEED Reference Guide for more technical detail on this credit appropriate for lighting designers. Here we’ll provide less-technical background and context.
Strategy 1: Glare Control
This strategy prompts designers to specify fixtures with limited light output above the diagonal, which is intended to reduce glare into the luminaire either from below or above. In general, this requires that fixtures have a limited luminous intensity (measured in candela per square meter) above 45 degrees away from the fixture. For v4.1, this luminance limit is 7,000 candela per square meter between 45 degrees and 90 degrees from nadir. Nadir is a term used to describe the angle that points directly down (0o) from the luminaire. If this information is not listed on cut sheets, it may need to be read from the manufacturer’s IES file.
Another option for glare control is to demonstrate a Unified Glare Rating (UGR) of <19. UGR is a scaled measurement of discomfort produced by a given lighting system and will need to be determined by the lighting designer using computer modeling software.
Remember: all the calculations are in installed watts and should cover only regularly occupied spaces. Be careful to make sure that the space classifications and areas in this credit match the rest of your LEED application. Fixtures in non-regularly-occupied spaces are therefore excluded. Fixture types that do not need to be added to the wattage total in the calculations include wall-wash fixtures properly aimed at walls according to manufacturer specifications, indirect uplighting fixtures (provided there is no view down into these uplights from a regularly occupied space above) and adjustable fixtures such as task lamps.
Strategy 2: Color Rendering
CRI, or Color Rendering Index, is a measurement of the ability of a light source to accurately re-create colors when compared with sunlight. This in turn depends on the fullness of the light spectrum. While low-CRI sources tend to provide a desaturated or even greenish light (think of old tube fluorescents), high-CRI sources provide a true color.
CRI has become an important index for measuring LED lighting quality, which varies greatly, and the target has increased in v4.1 to CRI=90 (up from CRI=80 in v4). Also new in v4.1 is the option to demonstrate performance using light sources that have a Color Fidelity Index greater than or equal to 78 and a gamut index between 97 and 110 according to the Illuminating Engineering Society (IES) TM-30 standard.
If pursuing this strategy, teams should focus on balancing color rendering with lighting power density for energy performance. Again, these requirements only apply to fixtures in regularly occupied spaces.
Strategy 3: Lighting Control
Have you ever been in a situation where you couldn’t see a presentation, only to have the speaker dim the lights so much that you couldn’t take notes? Option 3 of the credit aims to resolve everyday problems like this one, where different occupants in a shared space might have different lighting needs at the same time.
The equivalent v4 option for lighting control has been simplified in v4.1 to a single requirement for dimmable or multilevel lighting in at least 90% of occupant spaces.
Generally, lighting should be separated into multiple zones and be able to provide at least three different lighting levels (on-off isn’t enough!) or be dimmable. For separate rooms such as private offices, this could be accomplished at the room level. For larger spaces with individual workstations, controls could be provided for each workstation (task lamps) or through a more complex building-integrated control system with individually controllable overhead lighting.
Strategy 4: Surface Reflectivity
The final strategy focuses on optimizing lighting through the team’s choice of interior surfaces. You can have as many great lighting fixtures as you’d like, but once light leaves the fixture, it’s down to the interior design of the space to create a visually comfortable environment.
Selection of appropriate Light Reflectance Values (LRV) for architectural and furniture surfaces are needed in order to create even light levels. As with v4 Option 2 E, v4.1 specifies minimum LRVs that must be applied to at least 90% of regularly occupied spaces. The minimum LRVs are 80% for ceilings, 55% for walls and, if applicable, 45% for work surfaces and 50% for movable partitions.
Request LRVs from finish and furniture manufacturers or find them on specification sheets. As a rule of thumb, LRVs are higher for surfaces with lighter colors or glossier finishes, and lower for matte and darker surfaces. Finishes with higher LRVs will bounce more light and appear brighter than those with lower LRVs. Many paint and ceiling tile manufacturers list the LRV on product data sheets, but for carpet or other fabric wall covering, you may have to request this data.
This strategy is great for spaces with lower lighting levels, as lighter surfaces can improve the way humans “see” light and are relatively easy to acquire. Lighter surfaces and finishes are easily specified, and the credit still allows room for accent materials. This strategy should be assessed in tandem with the intended aesthetic, use, and lighting design of the space.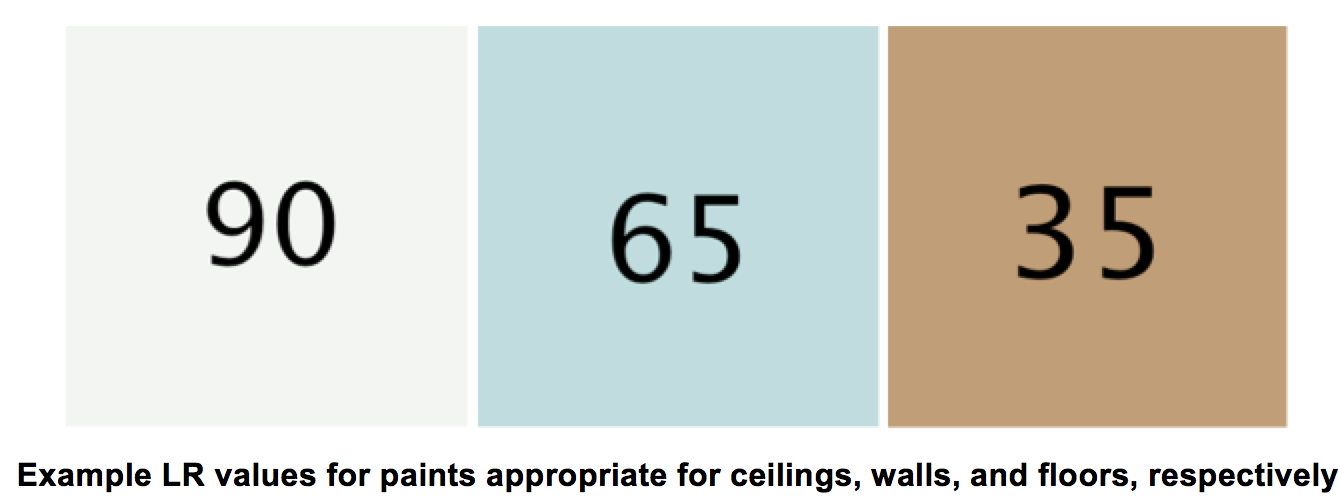
Spaces That Have to Comply with Requirements
What spaces need to comply with lighting requirements?
In v4.1, while different options apply to different space types, compliance is simplified from v4. Option 1 and 2 apply to all regularly occupied spaces, Option 3 applies to 90% of occupant spaces, and Option 4 applies to 90% of regularly occupied spaces. Depending on your project needs, you may want to select the options which work best for your lighting design.
What's New in LEED v4.1
- Version 4 Option 1 and Option 2 have both been removed
- There is now only one option which includes 4 strategies: Glare control, color rendering, lighting control and surface reflectivity
- Updated luminance requirements and an additional compliance method for glare control
- Color Rendering Index threshold has increased from 80 to 90
- Color Fidelity Index is now a recognized method for demonstrating quality color rendering
Should I upgrade?
Most projects will find it more streamlined and effective to pursue the v4.1 credit instead of the v4 credit.
